Beginning Astrophotography | Part 1 - The Equipment
Learn the basics of choosing the right beginner equipment to get out start capturing the stars
Mike Hayes
Astro Hayes
26 Feb 2020
9 min read
Beginning Astrophotography | Part 1 - The Equipment
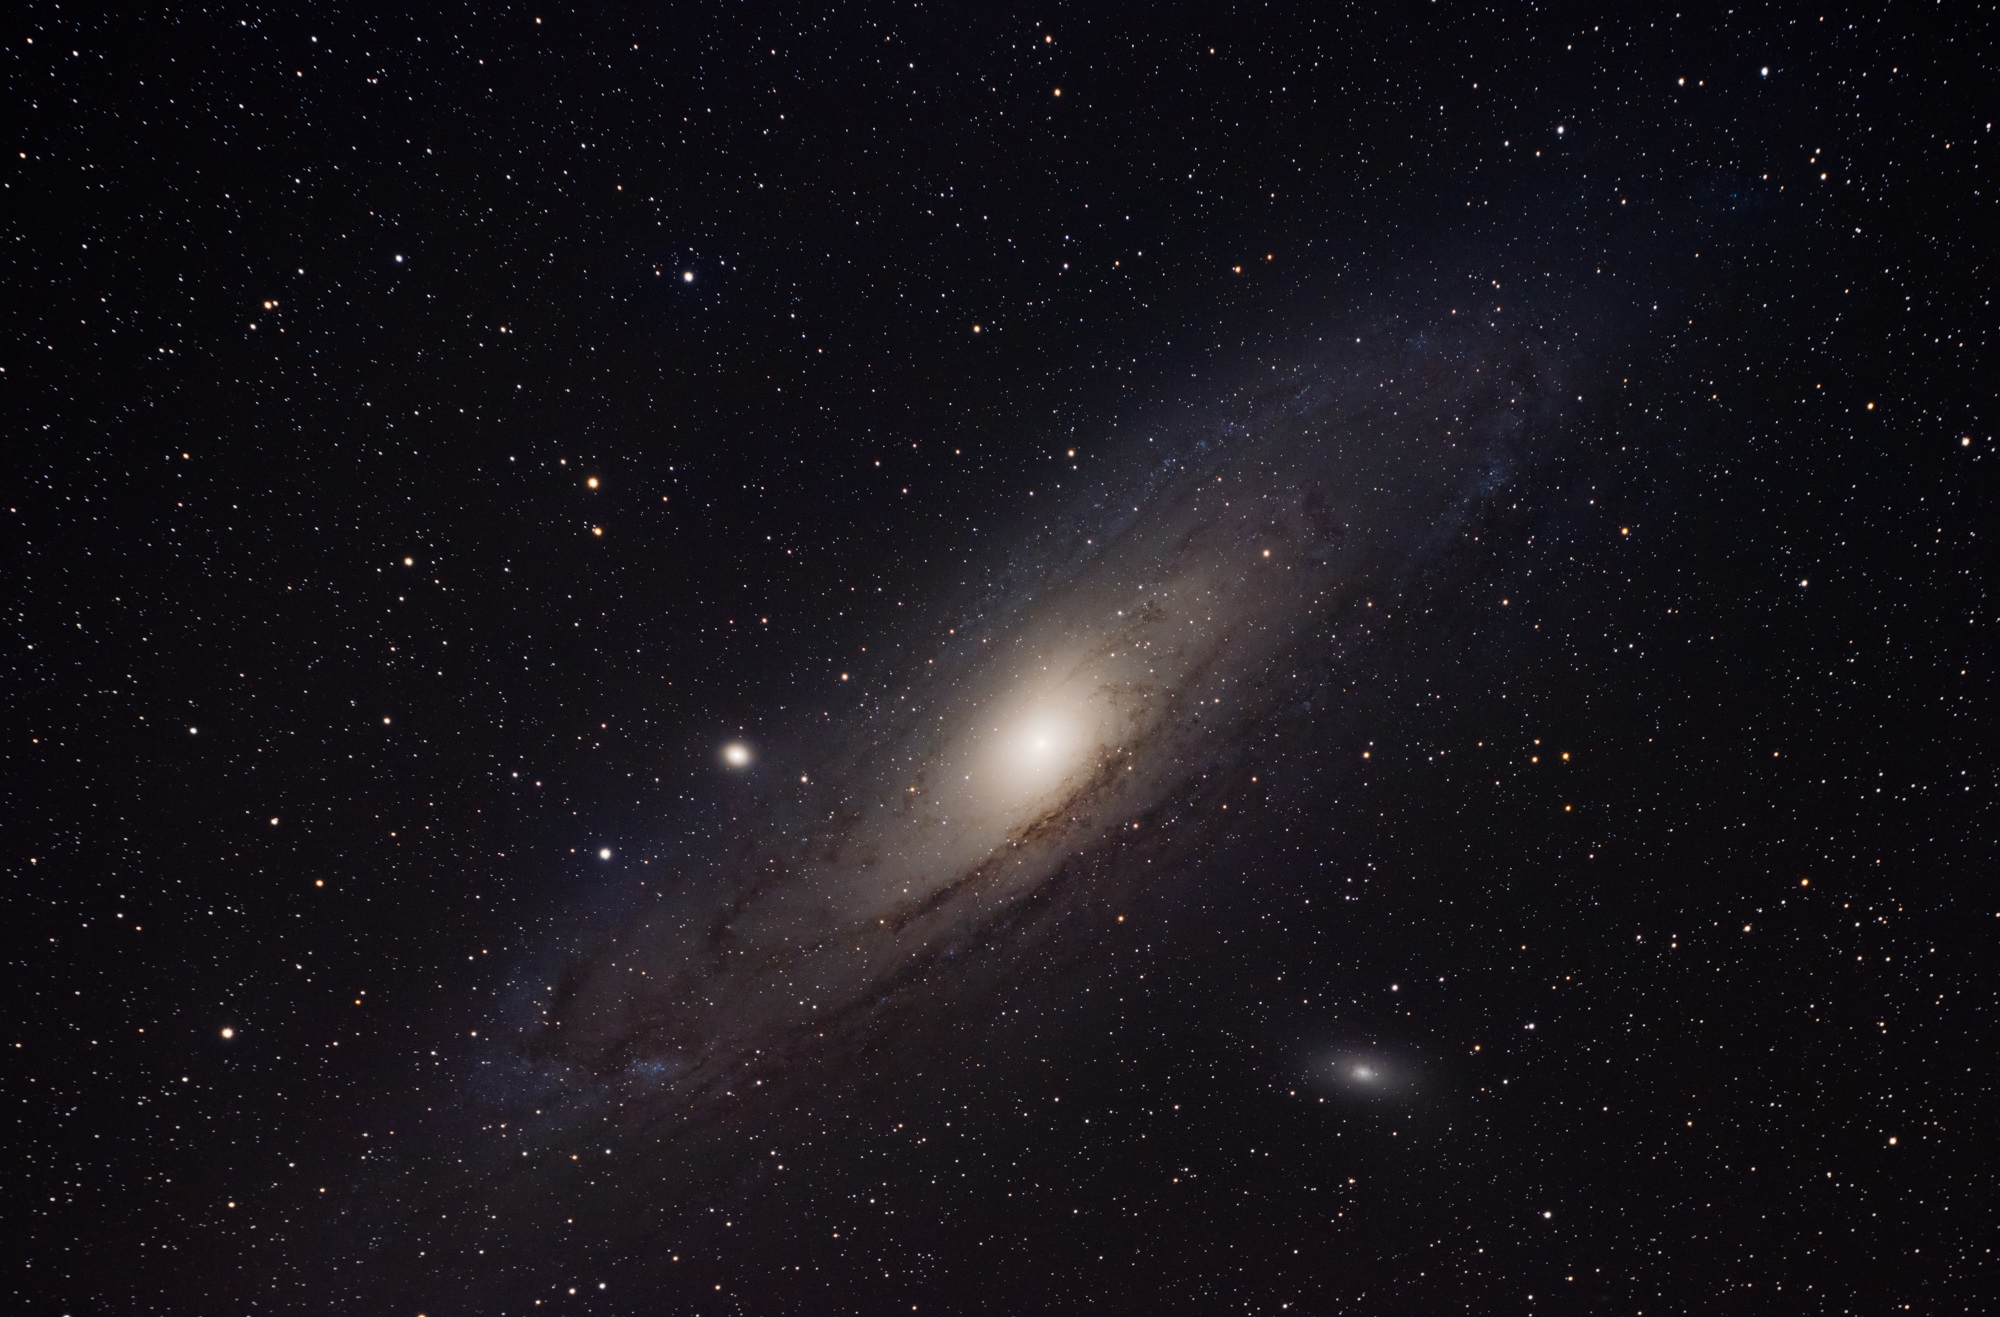
Last year I decided to dive into the world of astrophotography in all of its glory. It has been a pleasurable experience and I am going to talk about some of the research that I initially did to begin my journey. The image below was taken with an unmodified DSLR camera. We will go into what unmodified means in a little bit.
So what do I need to begin astrophotography?
Well, simply a device to capture photons (camera) and that's about it. This is a great way to get those Milky Way shots that you see online quite often. Now will you be able to go out and capture NGC 2359 (Thor's Nebula)? Probably not. How would you go about doing that you ask? Well here is a simple list of equipment that you will need to purchase to get those glorious deep sky objects (DSO) onto your computer screen.
- Mount with tracking
- Telescope / Lens
- Primary Imaging Camera (DSLR or CCD)
- Guide Scope
- Guide Camera
- Guiding Software
- Capture Software 1
- Power
- Time and Patience
That's a list that can look overwhelming. And it is overwhelming. Someone once told me, this is a marathon not a race. Take your time and get the equipment that you know will work and satisfy your requirements.
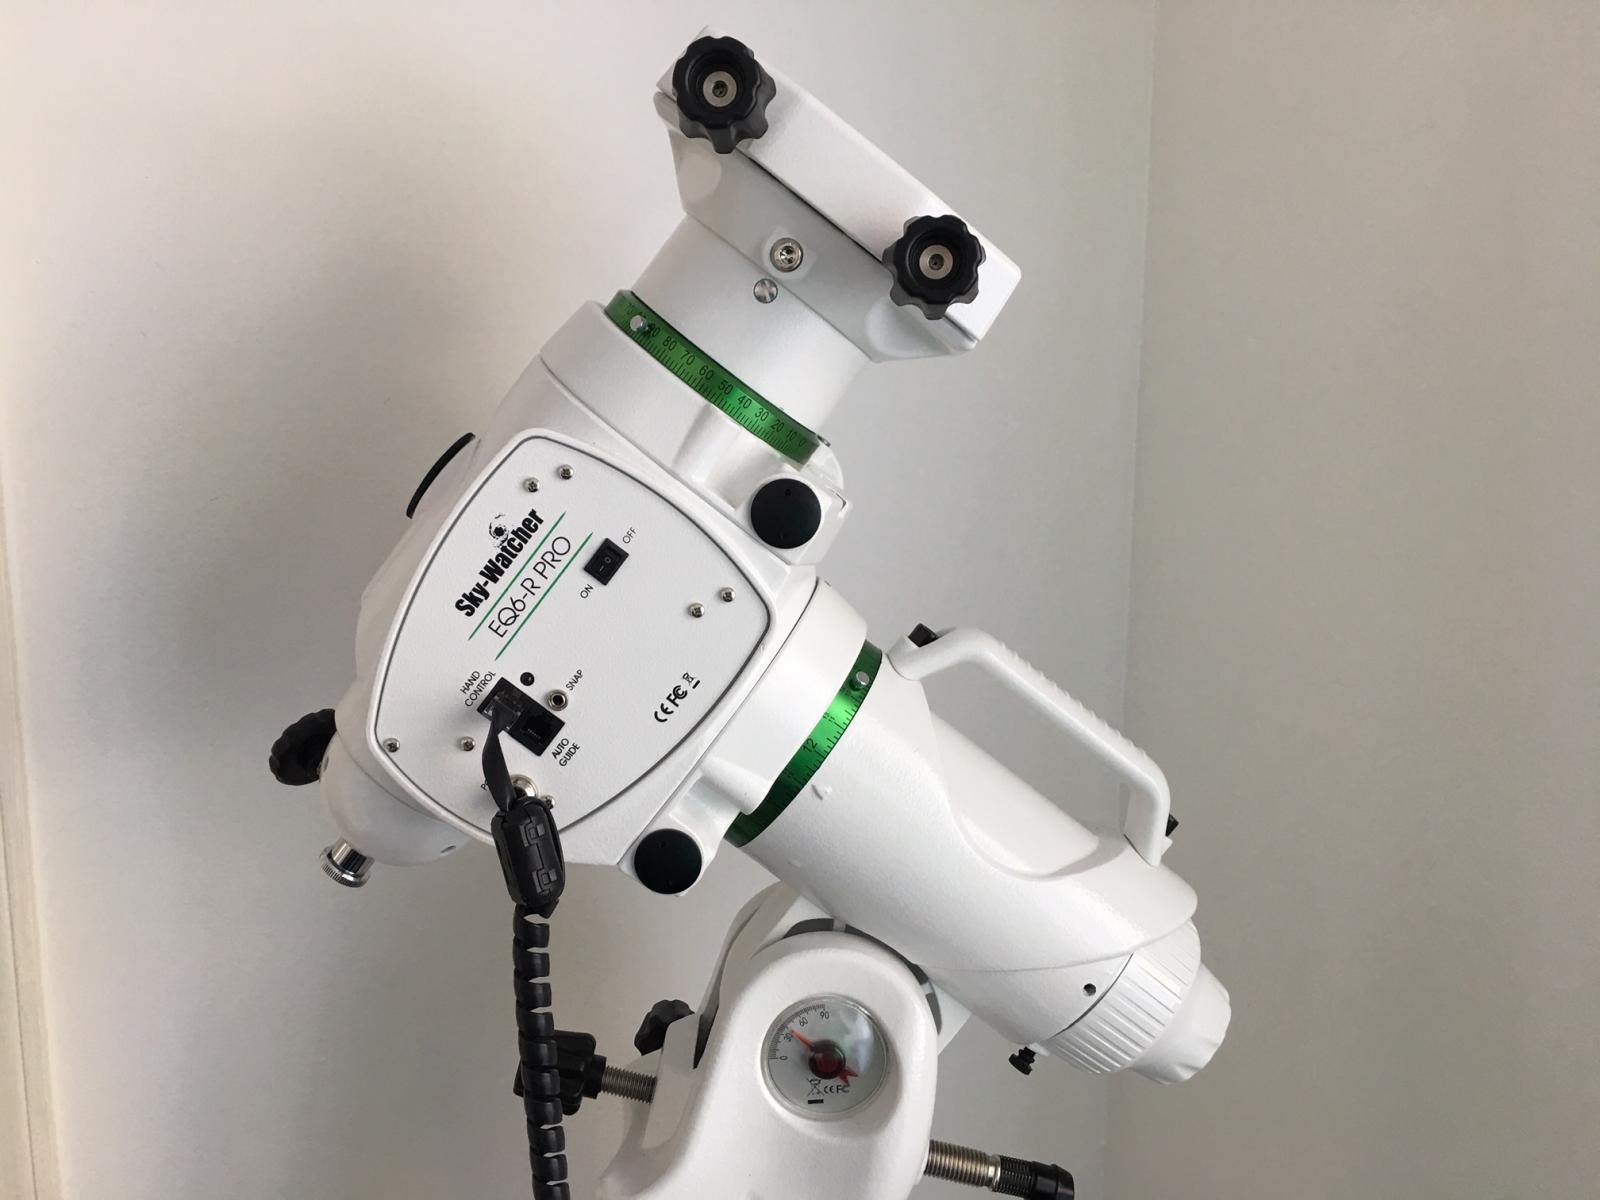
The Mount
This is by far the most important thing in astrophotography. Have a solid platform for your equipment will go a long way. The mount that I am currently using is an Skywatcher EQ6R-Pro. The EQ6R-Pro is a very solid mount and I would recommend this mount to anyone that is serious about getting into astrophotography. If you are on a budget and are planning to not use a telescope and just a camera lens, you might consider making a barn door tracking mount.

Key Factors in a Mount
Future Growth
When searching for a mount there are a few key features you want to look for before making a purchase. This being one of the most expensive pieces, take your time on it. You want to find something solid and sturdy. Look for the weight capacity of the mount and make sure you have room to expand and grow. You most likely will be starting out with a telescope that has a short focal length and you'll eventually want to upgrade. Make sure you purchase a mount that will be able to support that growth.
EQ Mount (Equatorial Mount)
Mounts come in a couple variations. The German Equatorial style mount is what you'll be wanting for astrophotography. If you use an altazimuth mount, as the earth rotates along its axis, the stars will quickly drift. This will cause star trails. That might be the stylized photo you are going for, but if you want to shoot and DSOs you'll need a mount that has the ability to track the night sky.
GoTo
You'll most likely want something with a "GoTo" system. This allows you to automagically* point to objects in the sky by simply inputting their catalog number into a hand controller. Eventually you'll most likely replace that hand controller with a computer. In order to use the GoTo, you'll have to be polar aligned as well as doing a star alignment to tell your mount where in the world you are. More on this to come.
*this is not really magic
Telescope / Lens
With both a DSLR and a CCD you are able to use either a lens or a telescope. A telescope is essentially a long lens. If you are mainly wanting to take wide angle time lapse's or large pictures of the Milky Way, you'll want to use mainly a lens. You can still get good detail on fainter objects with a telescopic lens however I prefer using a telescope. Telescopes come in a few flavors and the kind that astrophotographers are wanting are refracting telescopes. Specifically an apochromatic (APO) refractor telescope.

Why a refracting telescope?
Refracting telescopes use a lense and not a mirror. This will provide a crisp and well-corrected color image that your camera will be able to capture.
In addition to using a refractor, you will hear about apochromatic and achromatic. What does this actually mean? Have you ever seen an image where the outline of the target has a little green haze? This is called chromatic aberration. When light is passed through a refractor lens, it is bent to reach a focus point in the back of the telescope. This makes the wavelengths of red, green, and blue to not necessarily focus at the exact same position. An apochromatic lens normally has 3 or more elements. This will help align all wavelengths to the same focus point.
What focal length should I use?
This is a tough question as it really all depends. I highly suggest that someone who is just getting into astrophotography should use a wide field of view. The telescope that I mentioned above (Orion ED80 CF Triplet f/6) has a focal length of 480mm. This combined with a 0.8x focal reducer / flattener brings the effective focal length to about 384mm. This focal length will allow you to be off on your polar alignment and still get amazing photographs. Polar alignment will be another tutorial however the basics of it is that you must align your mount to north celestial pole (if you are in NA). This will allow your mount to track along with the earth's rotation. If you are off alignment, it will not track perfectly causing stars to not be pinpoint. Have a narrower focal length will give you more forgiveness in this.
Primary Camera
For the primary imaging camera, you'll most likely want to start with a DSLR. I say this because most people whom are interested in astrophotography probably already has access to a DSLR. If this is not the case, and you'll be purchasing a camera anyways, I'd suggest getting yourself a one-shot color astro camera such as the ZWO ASI 294MCPro.
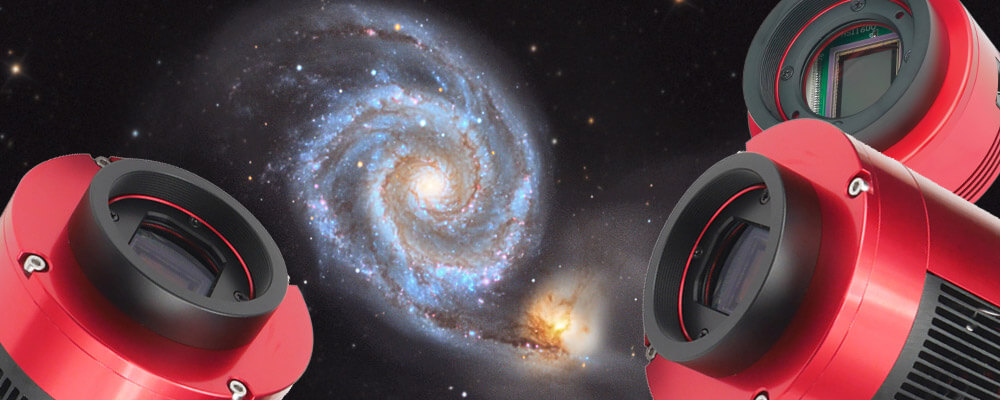
DSLR vs CCD?
Both a DSLR and a CCD camera have their pros and cons. One of the major benefits of having a CCD cooled camera is that it is cooled. Taking long exposures will cause your camera to heat up. The more heat your camera has, the more noise that will be inside the final image.
The DSLR will also most likely be unmodified if you bought it new. What does this actually mean? The problem with a stock DSLR is that they almost all have a low-pass, long-wavelength filter that causes the hydrogen-alpha light in red nebula's to be blocked. You can remove this filter, and that is what people call a modified DSLR. With the CCD camera, you will not have to worry about this.
Using a DSLR, you can get away with just using a shutter release remote. I still recommend using a program for imaging such as Astro Photography Tools (APT). I will be making a tutorial on this program in the future so stay tuned. Using an imaging program, you can create exposure plans and use a ton of features that just having a shutter release remote will not have. If you have a CCD camera, you cannot use the shutter release remote and are forced to use an imaging program. For this reason, I strongly suggest you get familiar with an imaging program now rather than making the move later.
For a CCD you have a couple choices, either a mono camera or a color camera. Mono is the more "serious" route however there is a steeper learning curve and also a lot more pricey. The benefit is that you are able to use other filters such as a H-alpha filter. In addition to this, a mono camera is more sensitive than the color variant. However, the color variant will still yield amazing results in a fraction of the time. In order to get that same image from a mono camera you have to at least shoot a red, green, and blue image to stack.
So why choose a DSLR and not a CCD? The main reason is price. These dedicated astro cameras are not cheap. If you are on a budget, a DSLR would be a good entry point and you'll still be able to photography amazing images. The Andromeda Galaxy at the top of this page was taken with an unmodified DSLR camera.
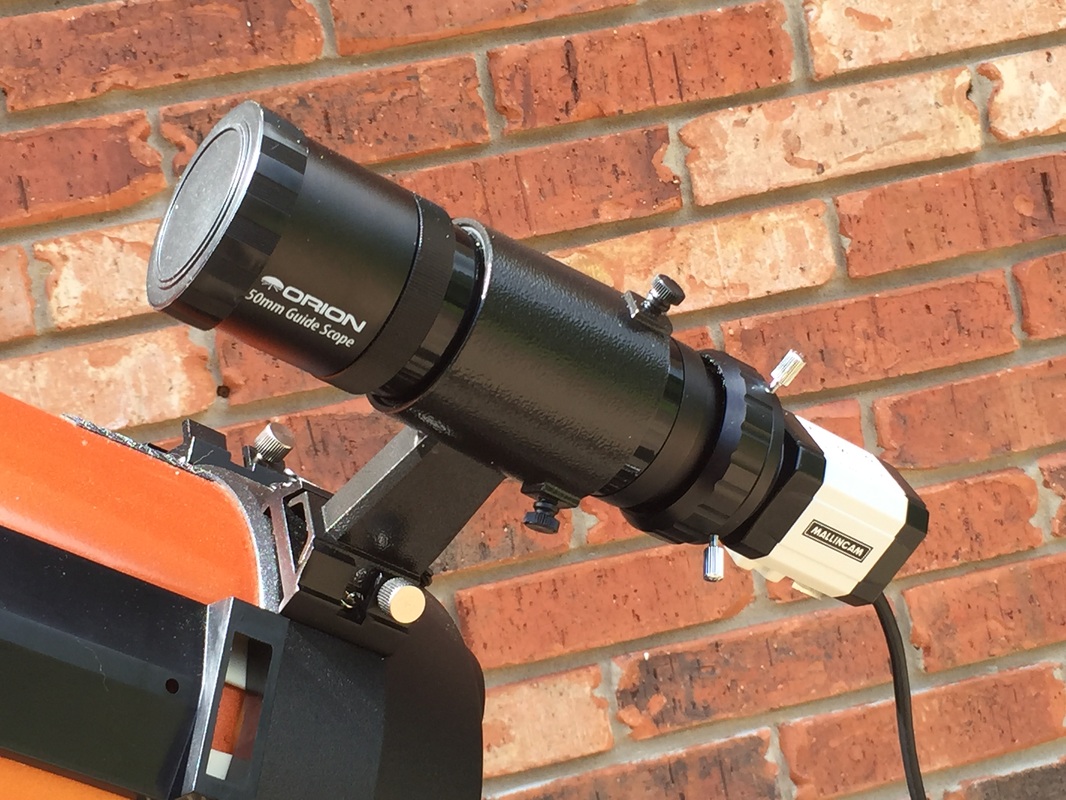
Guide Scope & Guide Camera
Why do we need a guide scope and camera if we have a mount that is able to track with the earth? The fact of the matter is, we will never be perfect on aligning our mount. Having a guide will help correct this. The guide scope I use on my Orion ED80 CF is the Orion 50mm Mini. The guide scope is always smaller than your primary imaging telescope. In addition to the guide scope, you will need a camera to focus on a star to guide. Mono being more sensitive, it is a good idea to use a mono camera. The camera I chose was the QHY5L-II-M.
The guide camera has a connection that will connect to your PC and another connection that will connect to your mount. This will allow you to control the guide camera with a software program called PHD2 Guiding. A tutorial for this program will be coming in the future. Essentially, the program will connect to your camera and the mount through the camera. From this, you are able to guide to a star and the camera will make micro adjustments to your mount for you.
Conclusion
This is the setup I chose and the reasons behind them. This is not a definitive guide however use it as a resource for you to do your own research. I still use the majority of this gear to this day and it is a very good setup. You are in this hobby for the long haul so take your time and make sure you get the equipment that will make you satisfied.
Part 2 of this tutorial will go into details of how to connect all of this equipment and branch off into how to use the software to acquire your very first image.
Mike Hayes - 2.26.2020
On this page